ROOQ BOX Instructions


First steps
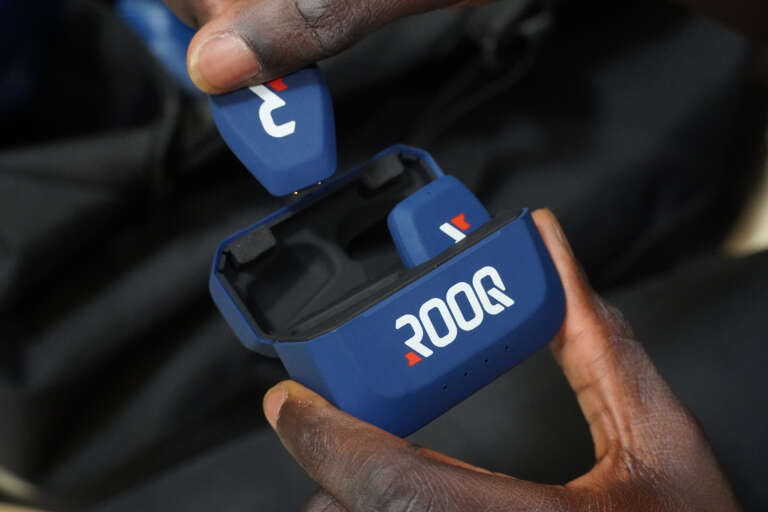
- Check that everything is there: Your ROOQ box contains two sensors, a charging case, a USB-C cable and two straps.
- Charge the charging case: Connect the USB-C cable to a 5V USB charging adapter. You can then charge the charging case. The LEDs indicate the status of the battery. If all four LEDs are lit, the battery is fully charged.
- Charging the sensors: Put your ROOQs in the charging case to charge them. The charging case battery must be charged for this.
- ROOQ App: You can find our ROOQ App in both the Google Play Store and the App Store. Download it for free, register and create a profile.
NOTE: When you start the app, it will ask you to authorise Bluetooth connection and to share your location. This permission is required to connect your sensors to the app. - Pairing the sensors: Go to the menu item “My ROOQs” to pair the sensors with your mobile phone. Follow the instructions provided in the app. NOTE: the sensors will flash red steadily until they are paired with your app.
Getting ROOQ ready
- Establish Bluetooth connection: Before you can start recording your training, your sensors need to be paired with your mobile phone first. To do this, go to the menu item “My ROOQs”. NOTE: The sensors must be in the charging case for this step and must not be in standby mode. If the LEDs on the sensors are not lit, briefly tap them to activate them out of standby mode. Before you start training, you must press ‘Prepare sensors’. Now the status should jump to “Sensors are ready” which means the sensors are ready for your training session.
- Check the battery level of the sensors: Your charging case will be fully charged in no time with the USB-C cable provided. Your sensors automatically start charging again when you put them in the charging case. Recommended when training on a regular basis: Make sure your sensors are fully charged before each workout. You can see the current battery level in the app.
- Remove the sensors: After taking the sensors out of the charging case, they should flash green rapidly every two seconds. This shows you that your ROOQs are ready for use and are recording data.
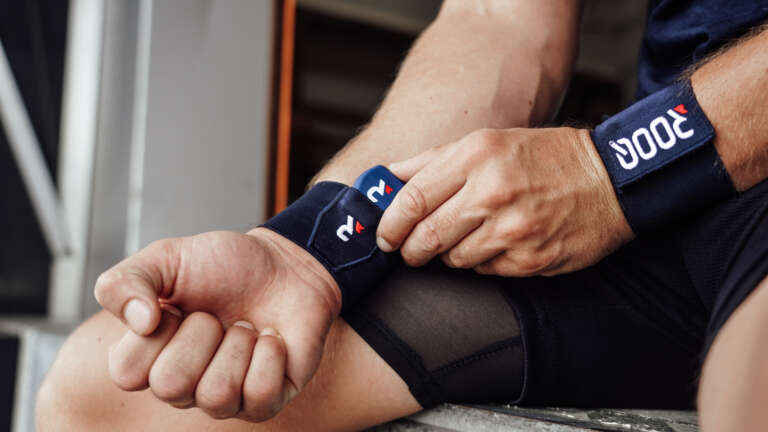
- Put the sensors on: Put on the straps provided and slide the sensors into the pockets provided as shown in the picture. The sensors need to be attached to the inside of the wrist and pushed towards the palm of the hand with the front side facing you.
It doesn’t matter which sensor you put on, be it the left or right side. Your ROOQs will automatically detect whether they are on your left or right arm. Make sure that you have attached the sensors as intended. Failure to do so will prevent your training data from being analysed correctly.
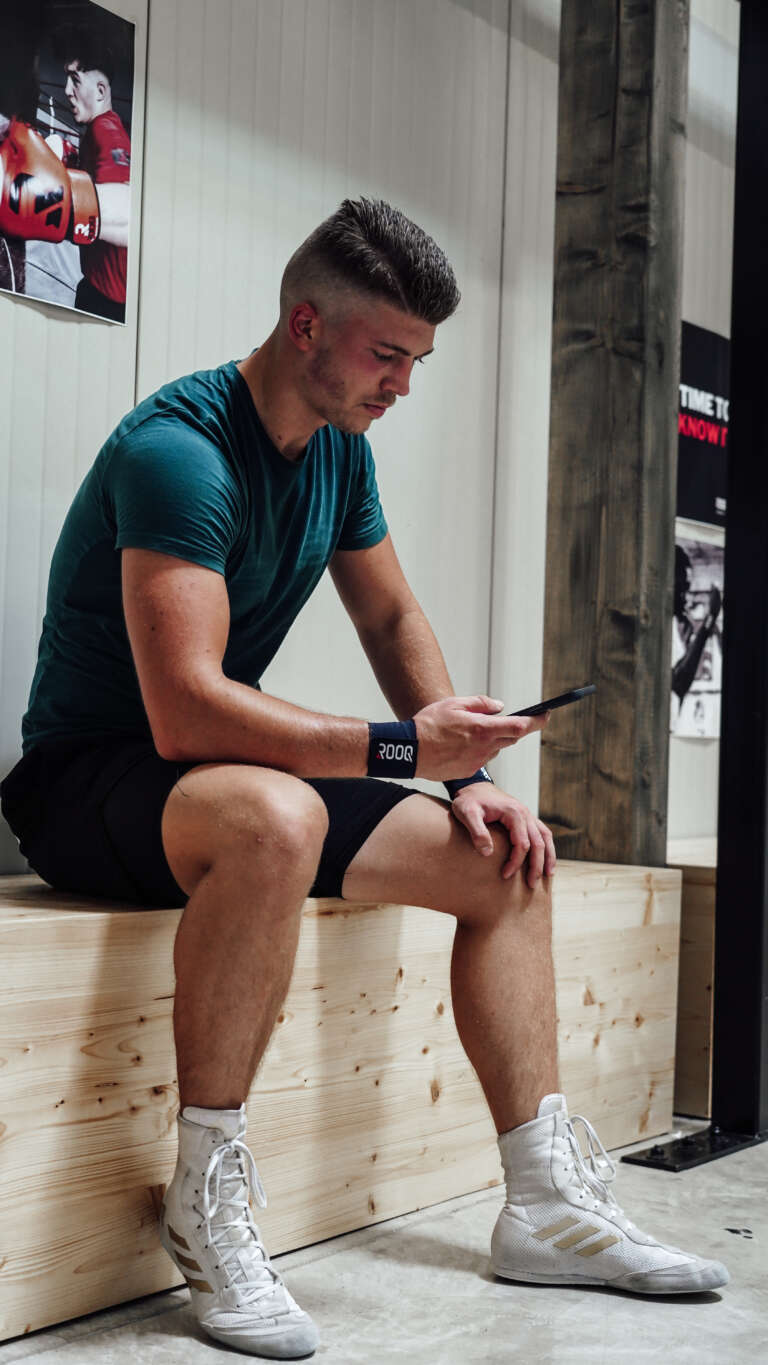
NOTE: You should update the status of your sensors regularly. You can do this by updating the app (by swiping down on the screen).
Training with ROOQ
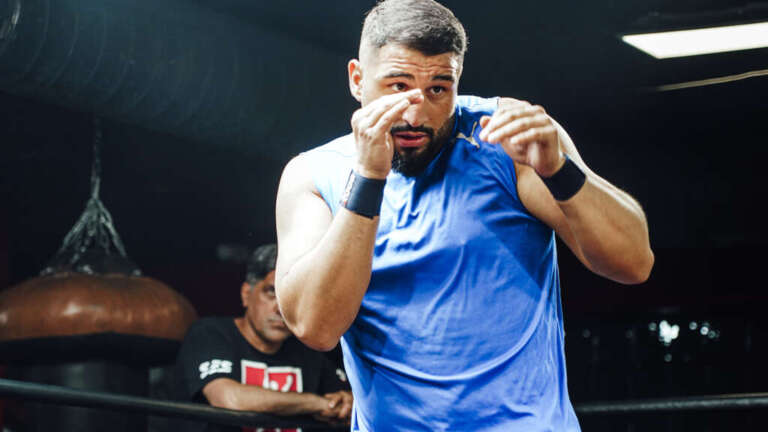
- Free training: Train when and where you want. Whether in a club, in your free time with a few boxing friends at home or in the fresh air. Your ROOQs automatically recognise boxing-specific exercises: shadow boxing, partner exercises, equipment work and rope skipping. They also record and analyse each of your punches and filter out irrelevant movements and exercises in the best possible way.
- Training according to a training plan: Would you rather leave nothing to chance and train according to a special training plan in which you individually specify the exercise selection, number of rounds, length of rounds and your break times? No problem.
Simply create your own training plan in the ROOQ app.
- Go to the menu item “My training area” and then to “Training plans”.
- Click on + to create a training plan.
- Give your plan a name and then add exercises.
- For each exercise you can set the number of rounds, the length of the rounds and the break times.
- After saving, you can select your training plan in the overview and start the training.
- The app signals the beginning and end of the individual rounds and breaks using audio signals. The app signals the beginning and end of the individual rounds and breaks using audio signals.
NOTE: Your coach can create individual training plans for you using the ROOQ Coaching Zone. You can access these plans directly in your ROOQ app.
Your results
Synchronising data: After training, your training data needs to be synchronised with your mobile phone. To do this, place the sensors in the charging case. Then open the menu “My ROOQs” in the app and click on “Load training data”. If this item does not appear, refresh your screen (by swiping down on the screen).
ROOQ processes your data with a scientific accuracy of almost 100 percent. The data is transferred and analysed so that you can work with the results in the best possible way. After a few minutes you will receive a detailed overview of your training performance.
NOTE: Your phone must be connected to the internet for this step.
- Data analysis: In the training section of the app you will find an overview of all training units that you have already synchronised and analysed. To review a training session, click on the white cloud icon. You will receive a push notification as soon as your training analysis has been successfully completed.
NOTE: Your mobile phone must be connected to the internet for this step. - Training overview: In the training section of the app you will find an overview of all training units that you have already synchronised and analysed. Select a unit to access the training analysis. You can delete individual training data using the pencil icon in the training overview.
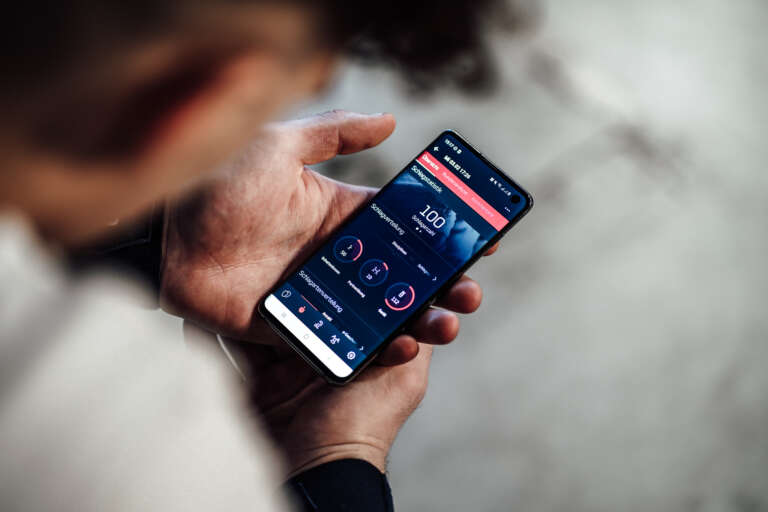
- Training analysis: The training analysis provides you with various information on training content and training performance. Here you can find out which exercises you did, when you did them, and for how long. You also get details on your stroke speed, stroke power, number of strokes and the types of strokes performed. You can view this information for each of your practice rounds using the round analysis function. You can also compare your performance from round to round.